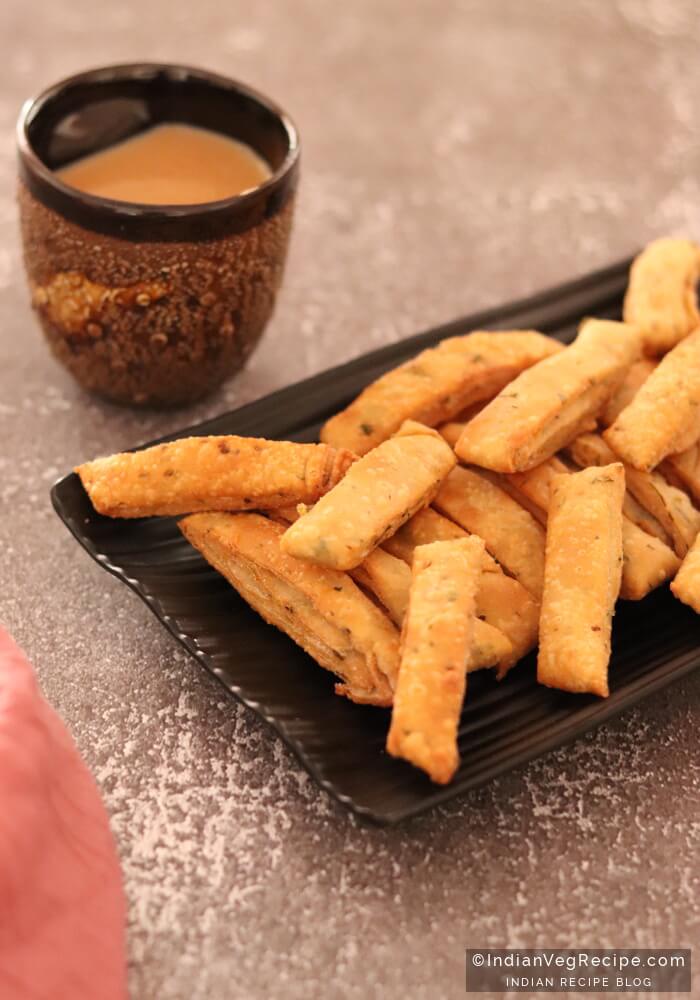
Methi Sticks Recipe | How to Make Methi Layered Sticks

How to make Methi Sticks Recipe at home with step by step photos. Methi Sticks is an enjoyable snack recipe for any time. Methi Layered Sticks is a very crispy and tasty snack recipe. In Methi Layered Sticks Recipe, wheat flour and methi or fenugreek or kasuri methi are used. For layered in sticks, we are going to use ghee and cornflour or rice flour. This is a healthier recipe by using wheat flour.
How to Make Methi Layered Sticks #
Furthermore, I want to share some suggestions for Methi Sticks Recipe. Firstly, you can use all-purpose flour or maida instead of wheat flour. Secondly, knead dough tightly like paratha dough. Additionally, you can use cornflour instead of rice flour for stuffing paste. Moreover, fry these sticks on medium to high flame. Lastly, you can store these sticks in an airtight container for 15 days after completely cooling down.

How to Serve Methi Sticks #
These Methi Layered Sticks can be served with tea or coffee. It is good for evening time hunger. It may also serve as a side dish in lunch or dinner. Also served in kitty parties or any other occasions.
Methi Sticks Recipe
Ingredients
For Paste
- 3 Tbsp Ghee
- 4 Tbsp Rice Flour
For Methi Layered Sticks
- 1½ Cup Wheat Flour
- 3 Tbsp Oil
- Salt as per taste
- 2 Tbsp Kasuri Methi
- 1 Tsp Ajwain (Carom Seeds)
- Water as required
- Oil (For Deep Fry)
Instructions
For Paste
- Firstly, take a mixing bowl and add ghee and rice flour. Mix it properly till fluffy paste or till white color.
- The paste is ready and kept at the side.
For Methi Layered Sticks
- Firstly, take a bowl and add wheat flour, oil, kasuri methi, salt and ajwain. Mix it.
- Secondly, add water in batches. And knead a tight dough like paratha. Cover with lid and rest for 10 minutes.
- After 10 minutes, knead the dough slightly and make an equal 8 balls shaped dough from that.
- Now take 1 dough and roll like roti.
- Prepare a total of 4 roti for 1 batch.
- Then take 1 roti from that and evenly spread prepared paste on it.
- After applying the paste, place another roti on it.
- And repeat the same for 2nd and 3rd roti and place 4th roti on it.
- Now gently roll this roti till slightly thick and again apply the prepared paste.
- Roll tight as described.
- Now roll with a rolling pin as described.
- Then cut of 1 inch from that roll.
- Deep fry this roll in oil till golden brown on medium flame.
- Your Methi Layered Sticks is ready to serve.
Instructions to Make Methi Sticks Recipe #
For Paste
1. Firstly, take a mixing bowl and add ghee and rice flour. Mix it properly till fluffy paste or till white color.

2. The paste is ready and kept at the side.

For Methi Layered Sticks
1. Firstly, take a bowl and add wheat flour, oil, kasuri methi, salt and ajwain. Mix it.

2. Secondly, add water in batches. And knead a tight dough like paratha. Cover with lid and rest for 10 minutes.

3. After 10 minutes, knead the dough slightly and make an equal 8 balls shaped dough from that.

4. Now take 1 dough and roll like roti.

5. Prepare a total of 4 roti for 1 batch.

6. Then take 1 roti from that and evenly spread prepared paste on it.

7. After applying the paste, place another roti on it.

8. And repeat the same for 2nd and 3rd roti and place 4th roti on it.

9. Now gently roll this roti till slightly thick and again apply the prepared paste.

10. Roll tight as described.

11. Now roll with a rolling pin as described.

12. Then cut of 1 inch from that roll.

13. Deep fry this roll in oil till golden brown on medium flame.

14. Your Methi Layered Sticks is ready to serve.

Tips to Making Methi Layered Sticks #
- Firstly, you can use all-purpose flour or maida instead of wheat flour.
- Secondly, knead dough tightly like paratha dough.
- You can also add sesame seeds for a healthier snack.
- Additionally, you can use cornflour instead of rice flour for stuffing paste.
- Moreover, fry these sticks on medium to high flame.
- These Methi Layered Sticks can be served with tea or coffee. It is good for evening time hunger.
- Lastly, you can store these sticks in an airtight container for 15 days after completely cooling down.

We hope you have found this recipe helpful. Let us know your questions or feedback if any through the comment section is below. You should subscribe to our newsletter and get notified when we publish new recipes. Even more, you can explore here other interesting recipes.
If you like our recipes, please consider buying us a coffee.
Thank you for your support!
 Buy me a coffee!


Leave A Reply